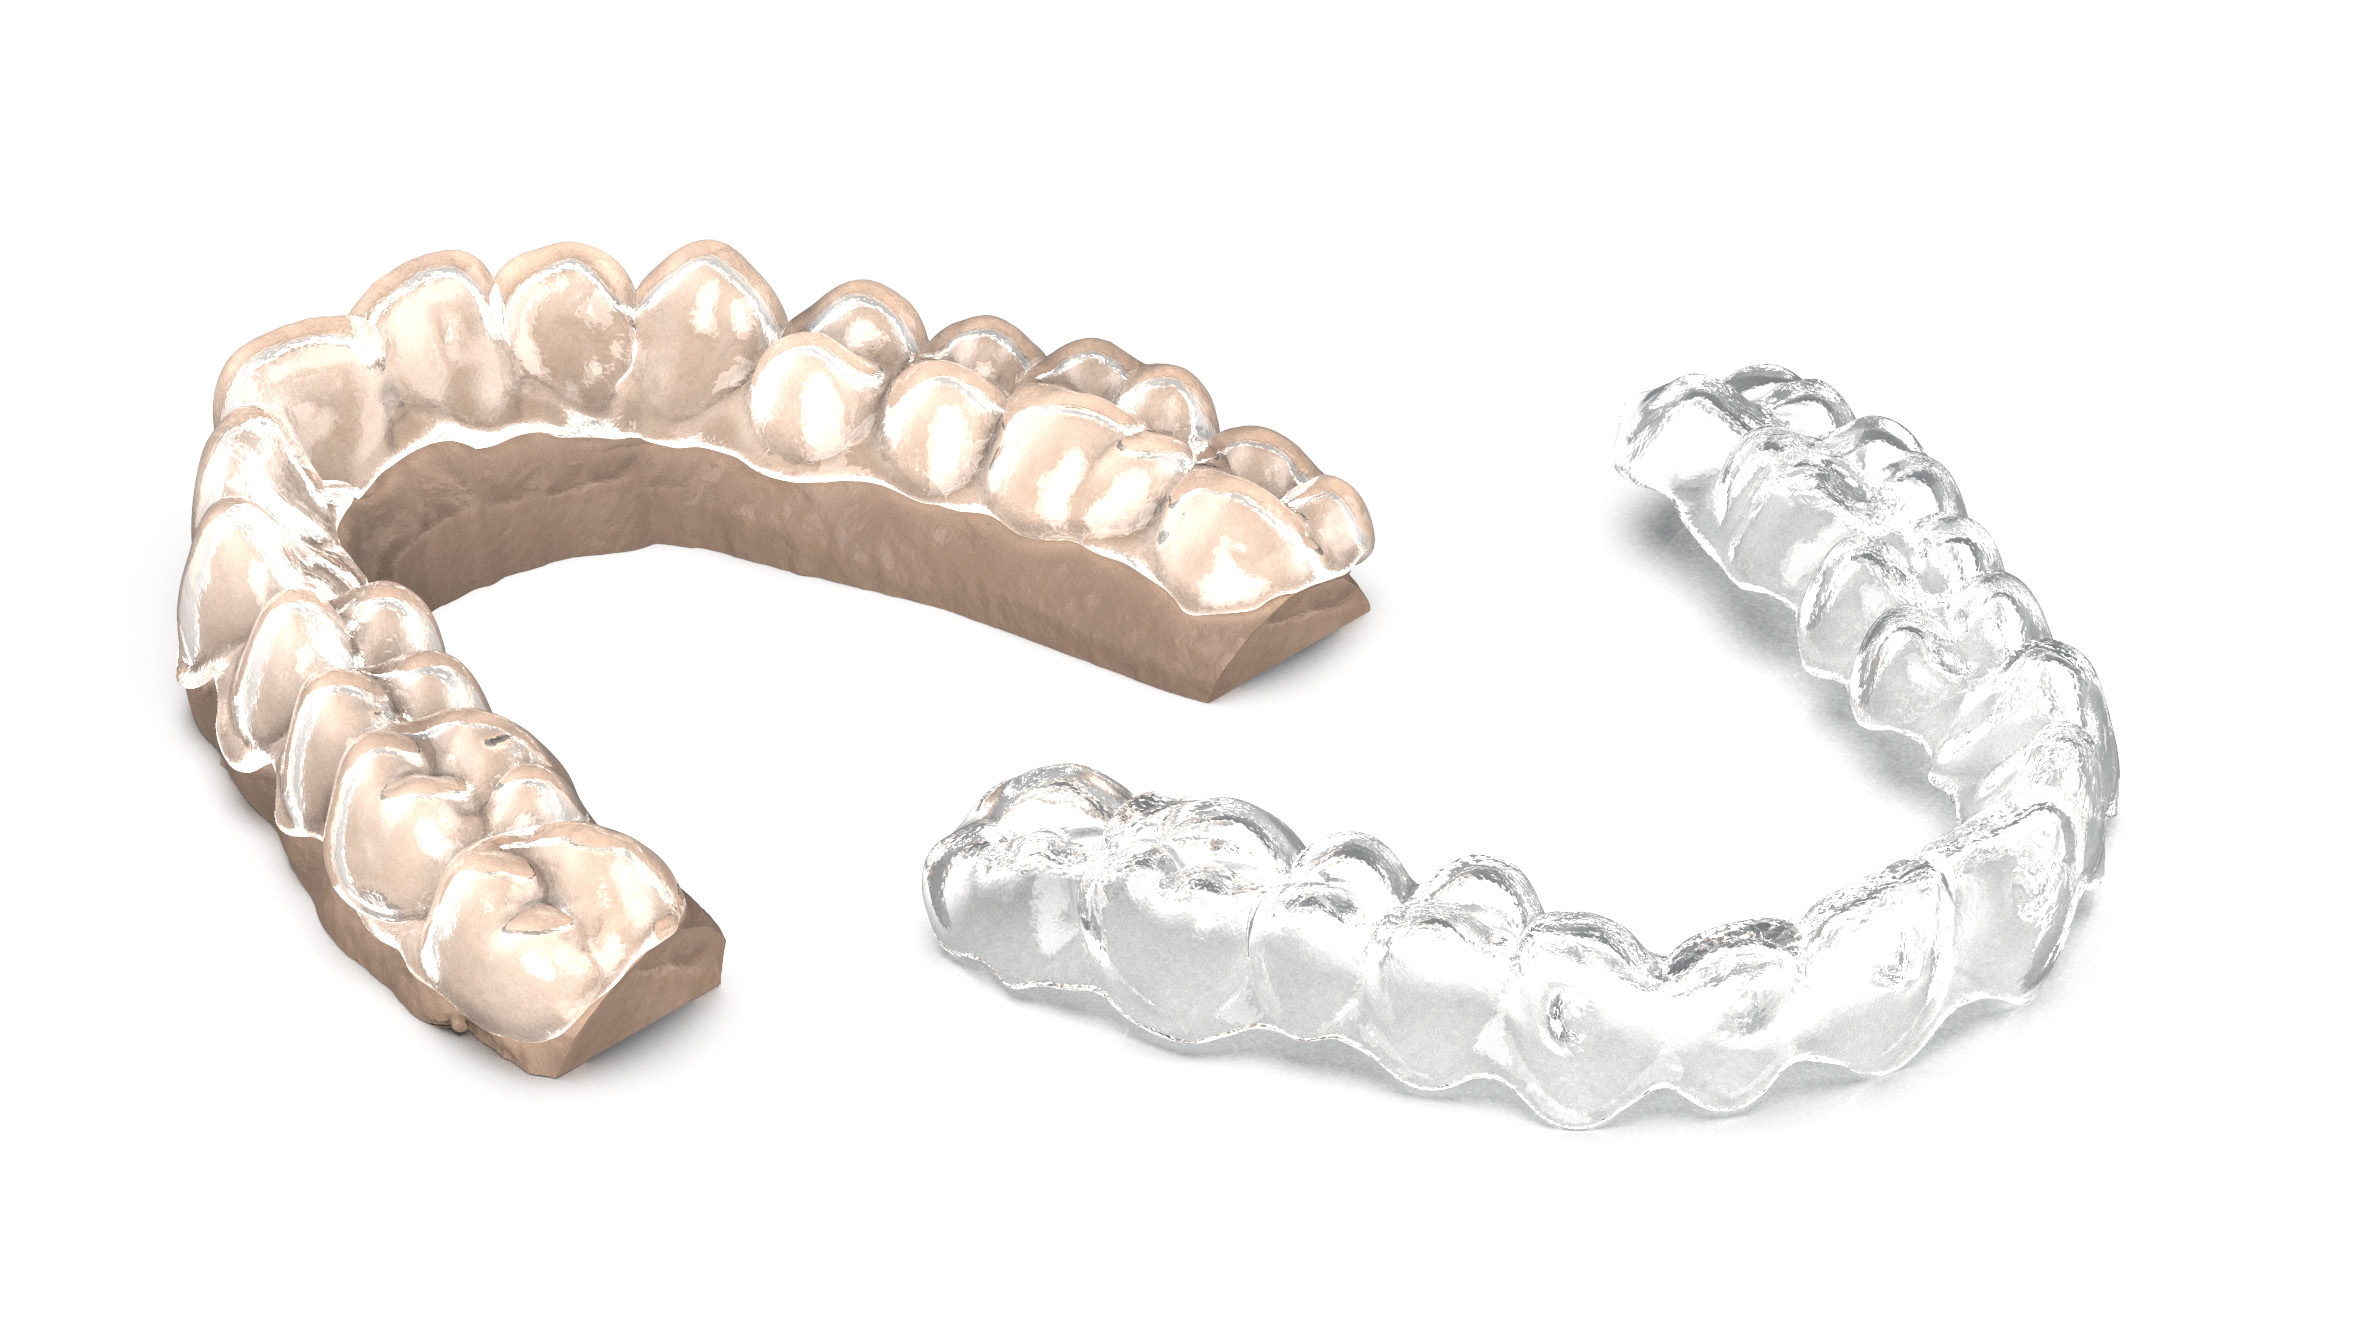
Many general dental practices are taking advantage of 3D printing to create all kinds of devices that make life easier for patients and streamline dental procedures for practitioners. The technology has evolved quickly in recent years, enabling dentists to print models to make aligners, as well as models for orthodontic work, crowns, dies for lab cases, dentures, surgical guides, ortho bracket trays, night guards and wax-ups.
3D printing is an additive manufacturing process that creates a physical object from a digital design. The process involves laying down thin layers of materials, such as powder plastic, metal or cement, and then fusing the layers together.
This approach offers a wealth of benefits to general dentists, from saving time and reducing stress, to improving profitability and patient experiences. Once you choose the right hardware and software to get started, it’s essential to understand how to set up effective workflows, how to employ your team to drive success and how to apply best practices to maximize your return on investment (ROI).
ROI of 3D printing
“The greatest ROI for 3D printing for a general dentist is for night guards and for in-house aligners,” says Dr. Usa Bunnag, a practicing dentist at Bunnag Comprehensive Dentistry in North Bethesda, Maryland. “When you look at the traditional costs for clear aligners, it’s $500 - $1,800, and the lab fee is at least $100. Even if you send a digital impression, the turnaround time is two weeks to get the case back. Sometimes there’s a delay in cases. When the product doesn’t come back in time, it reduces profits and creates a lot of stress. 3D printing alleviates all of that.”
Using 3D printing maximizes profits and speeds up the process for patients. For example, with 3D printing, it costs roughly $25 to design and $4 to process a night guard, and patients can receive them back within a day.
Dr. Bunnag has also seen significant improvement in the process of creating night guards. “Before we had 3D printing, cases used to come back and I would have to do a lot of adjustment with occlusions, and they would take weeks to produce. Now I can do it all in the same day or the next day, and 95% of the time there’s no adjustment needed.”
SprintRay developed a material called NightGuard Flex for dentists who are printing their own night guards. They can create the design and receive an STL file back from SprintRay within 48 hours, and from there it’s just a few dollars to print. “This material reduces the time for the procedure,” says Dr. Bunnag. “My assistant can put it in hot water and mold it to the patient. Once it’s hardened, it’s very strong. I simply come in and make sure the occlusion is good, and the patient is ready to go.”
Surgical guides are also a handy item to print in-house. “I used to place implants freehand, but printing surgical guides makes things a whole lot easier,” Dr. Bunnag explains. “I can send my Primescan file to SprintRay and they’ll design it for me and then send the STL file back to me to print. In a recent case, I printed the surgical guide, and it took me just 15 minutes for the surgery. It went very well.”
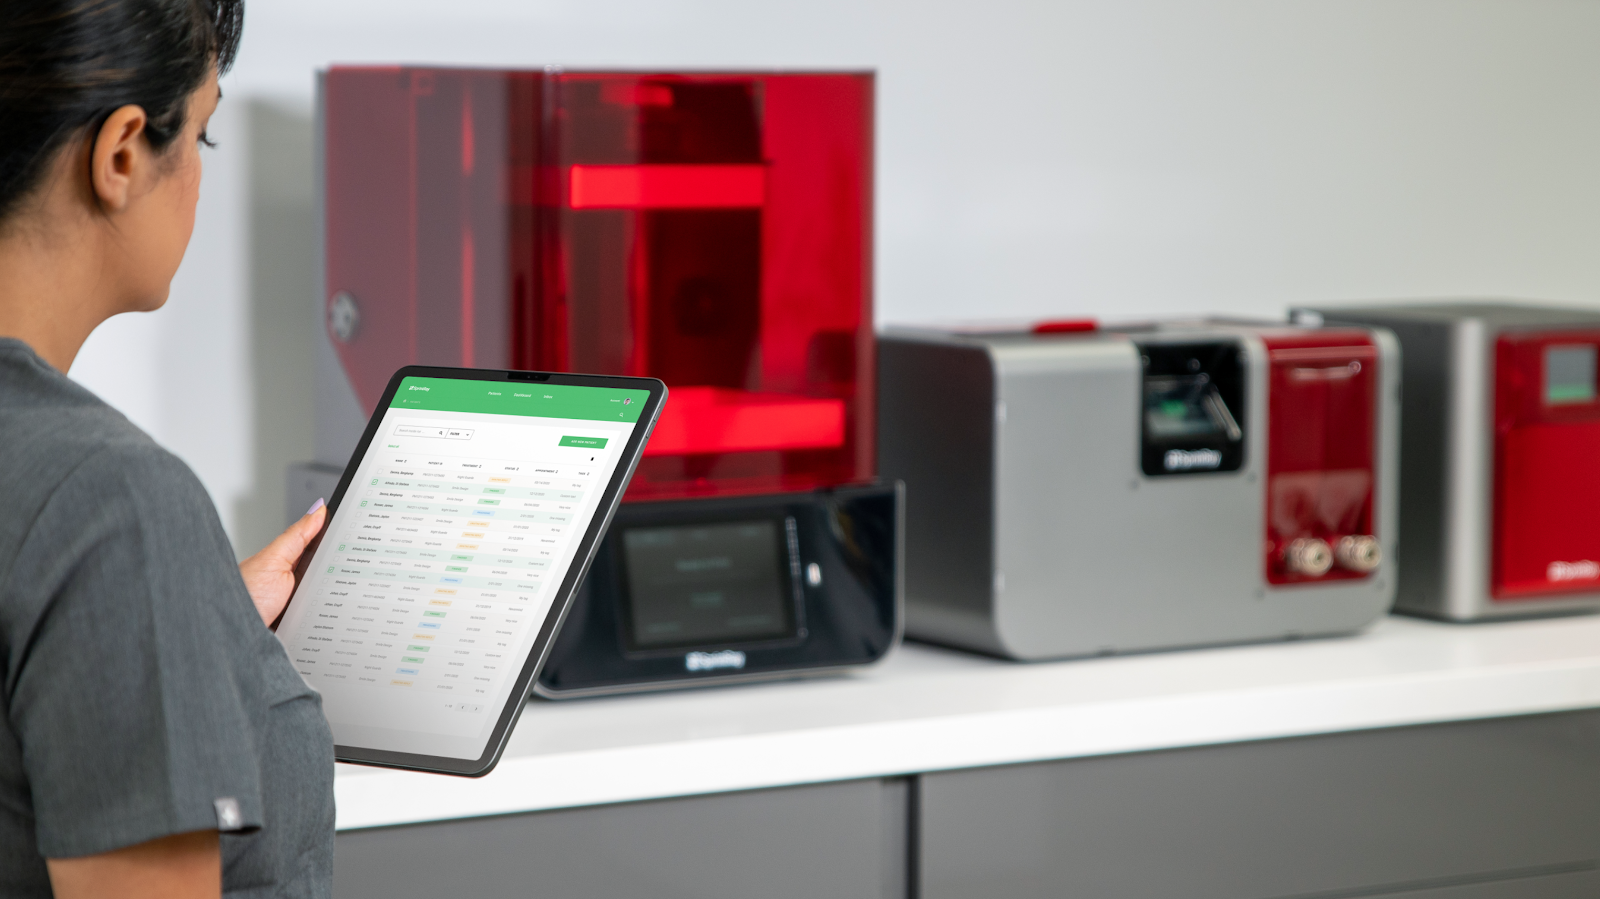
Choosing the right technology
Choosing the right 3D printer will depend on the type of materials to be printed.
Getting started with 3D printing requires hardware, such as a laptop or PC with a three-button mouse, an intraoral scanner, as well as the printer itself. There are several different types of 3D printers, including:
- Fused deposition modeling
- Stereolithography
- Digital light processing
- Multi jet fusion
The 3D printer includes printed parts, supports, resin, the build platform, projector, mirror, light and resin tank. It’s common to use different resin tanks for different resin types. These last six to 10 months and then need to be replaced. It is also advisable to have an extractor to remove dust from the environment. For dentists looking to print clear aligners, they will also require a pressure former, an interproximal reduction (IPR) kit and a starter kit, including the chewie, hook, case and cleaner.
Choosing the right printer will depend on the type of materials to be printed. For example, the SprintRay Pro55 has finer details than some other models, so it can be used to print dentures, as well as crowns and bridges, while the SprintRay Pro95 has a larger build plate, making it ideal for orthodontic work.
When it comes to software, RayWare is a commonly used application for 3D printing. In addition, applications like ArchForm, Blue Sky Bio or uLab provide in-house design for clear aligners. For dentists who prefer not to handle their own design, ArchForm will design orthodontic cases, and SprintRay will design night guards.
Preparing your team
Since much of the workflows of 3D printing involve the dental assistant, it’s important to have an assistant with strong organizational skills, as well as some IT and lab knowledge. They will need to learn how to master the software and hardware, including how to scan, manipulate digital models and upload and manage files. Training in 3D printing and processing is also important, as dental assistants will need to become accustomed to tasks related to these areas, as well as making and trimming clear aligners. Moving from analog to digital gradually is the best approach, to help team members become comfortable with the changes. Equipment manufacturers will typically offer a wealth of training to help set your team up for success.
Creating the right workflows
For producing night guards, the dental assistant will be responsible for:
- Scanning the patient (instead of taking physical impressions)
- Uploading files and transferring them to a vendor such as SprintRay for designing
- Printing directly from the dashboard to the printer or downloading STL files to RayWare to print
- Printing the device
- Washing, curing and polishing
- When the patient returns, checking the seating and asking the dentist to verify the occlusion
- Performing post-operative tasks
For clear aligners, the dental assistant is also heavily involved, taking responsibility for:
- Scanning the patient
- Uploading files
- Editing models
- Carving out the teeth in an aligner system like ArchForm
- Preparing the case for the dentist to design
- Exporting files and setting up models in a system such as RayWare for printing
- Printing the device
- Washing and curing
- Tray fabrication
- Case tracking
- Inserting and checking seating
- Ensuring consent forms are signed
- Handling post-operative instructions
The dentist saves a great deal of time when it comes to clear aligners. Their role simply includes:
- Diagnosis and treatment planning
- Performing interproximal reduction
- Handling attachment placement
- Checking the process
Conclusion
Ultimately, 3D printing is the future of dentistry. It’s bringing added convenience to patients and significant cost savings for providers. It will require some rethinking of processes and reconfiguring of practice space, but the benefits achieved once this is in place are significant.
To learn more about 3D printing, visit https://henryscheinequipmentcatalog.com/cad-cam/3d-printers.